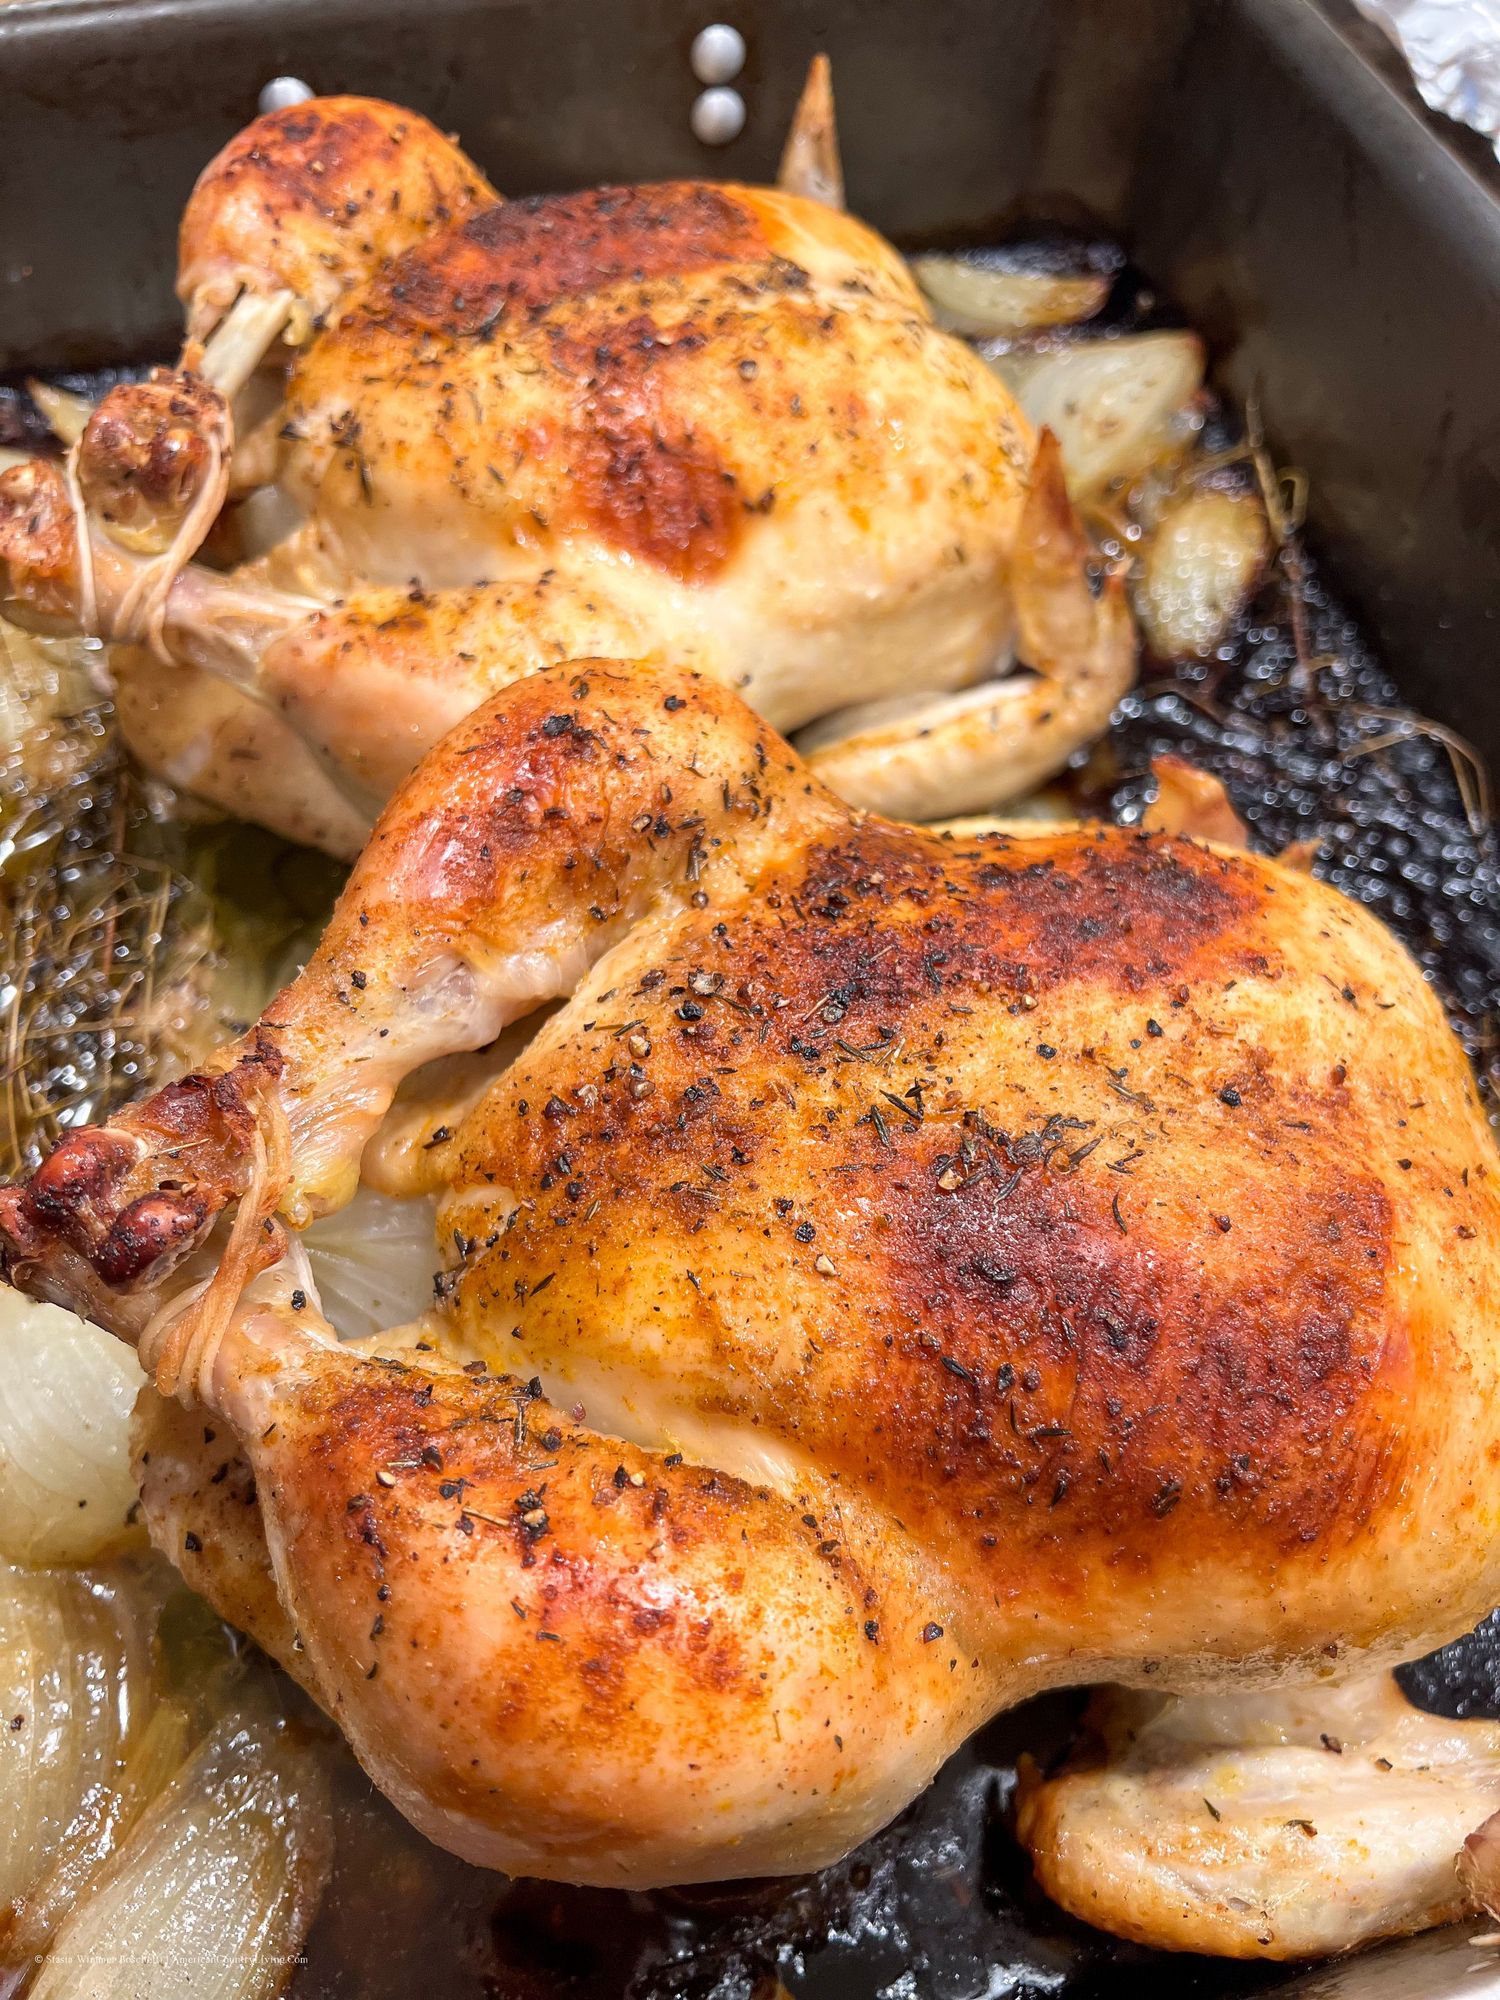
Classic Roasted Whole Chicken
A properly roasted chicken is one of the great benchmarks of a home cook: deeply browned skin, juicy breast meat, tender thighs, and a roasting pan full of drippings worth saving.
The method is straightforward, but a whole chicken teaches several useful lessons at once. Dry skin browns better than damp skin. Fat carries flavor. Dark meat needs enough time in the oven to become tender. Resting the bird before carving keeps more of its juices where they belong. Once you understand those principles, roasting a chicken becomes a dependable skill you can return to again and again.
Whole roasted chicken has held a place in American cooking for generations. Nineteenth-century American cookbooks regularly included instructions for roasting poultry, often using butter, herbs, and careful basting to keep the meat moist and the skin well browned. The techniques have changed in detail as ovens and poultry production have changed, but the basic goal remains the same: cook the bird evenly, season it well, and make use of every flavorful part.
Chicken itself once carried a different value at the American table. For much of the nineteenth and early twentieth centuries, hens were commonly kept for eggs, and younger birds intended for eating were more costly than they are today. As commercial poultry production expanded during the twentieth century, chicken became far more widely available and gradually moved into the category of practical everyday cooking.
That history is part of what makes a classic roast chicken so useful. The dish feels familiar, but it still rewards care.
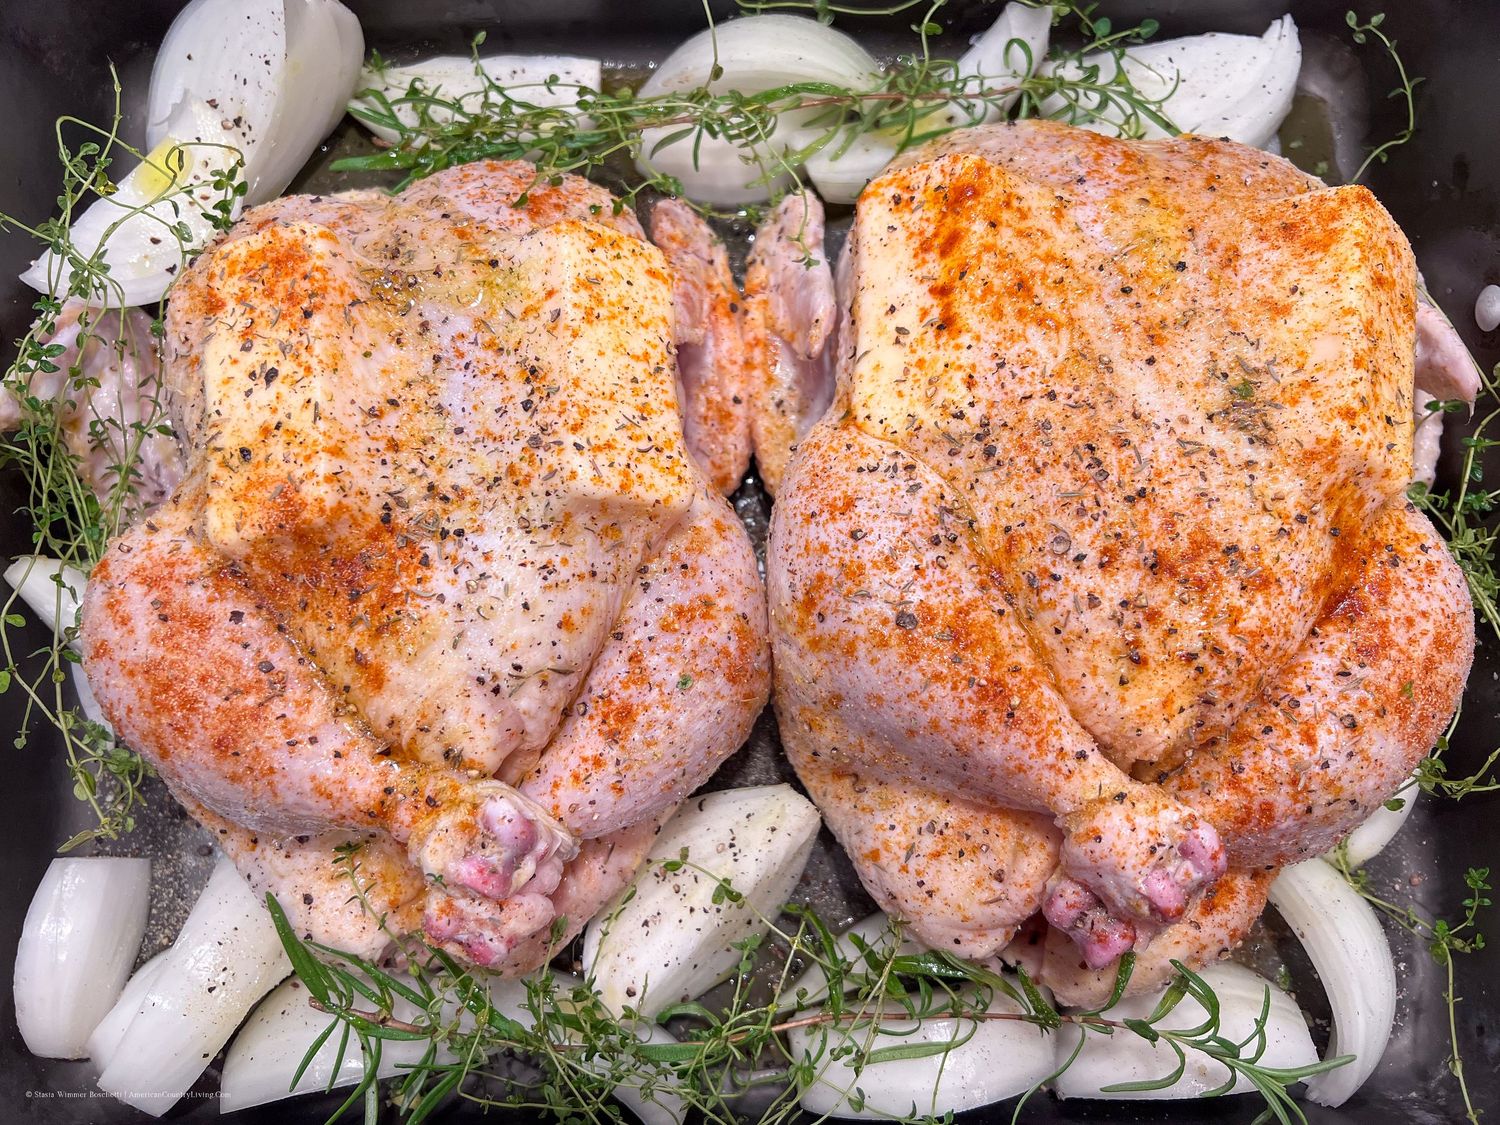
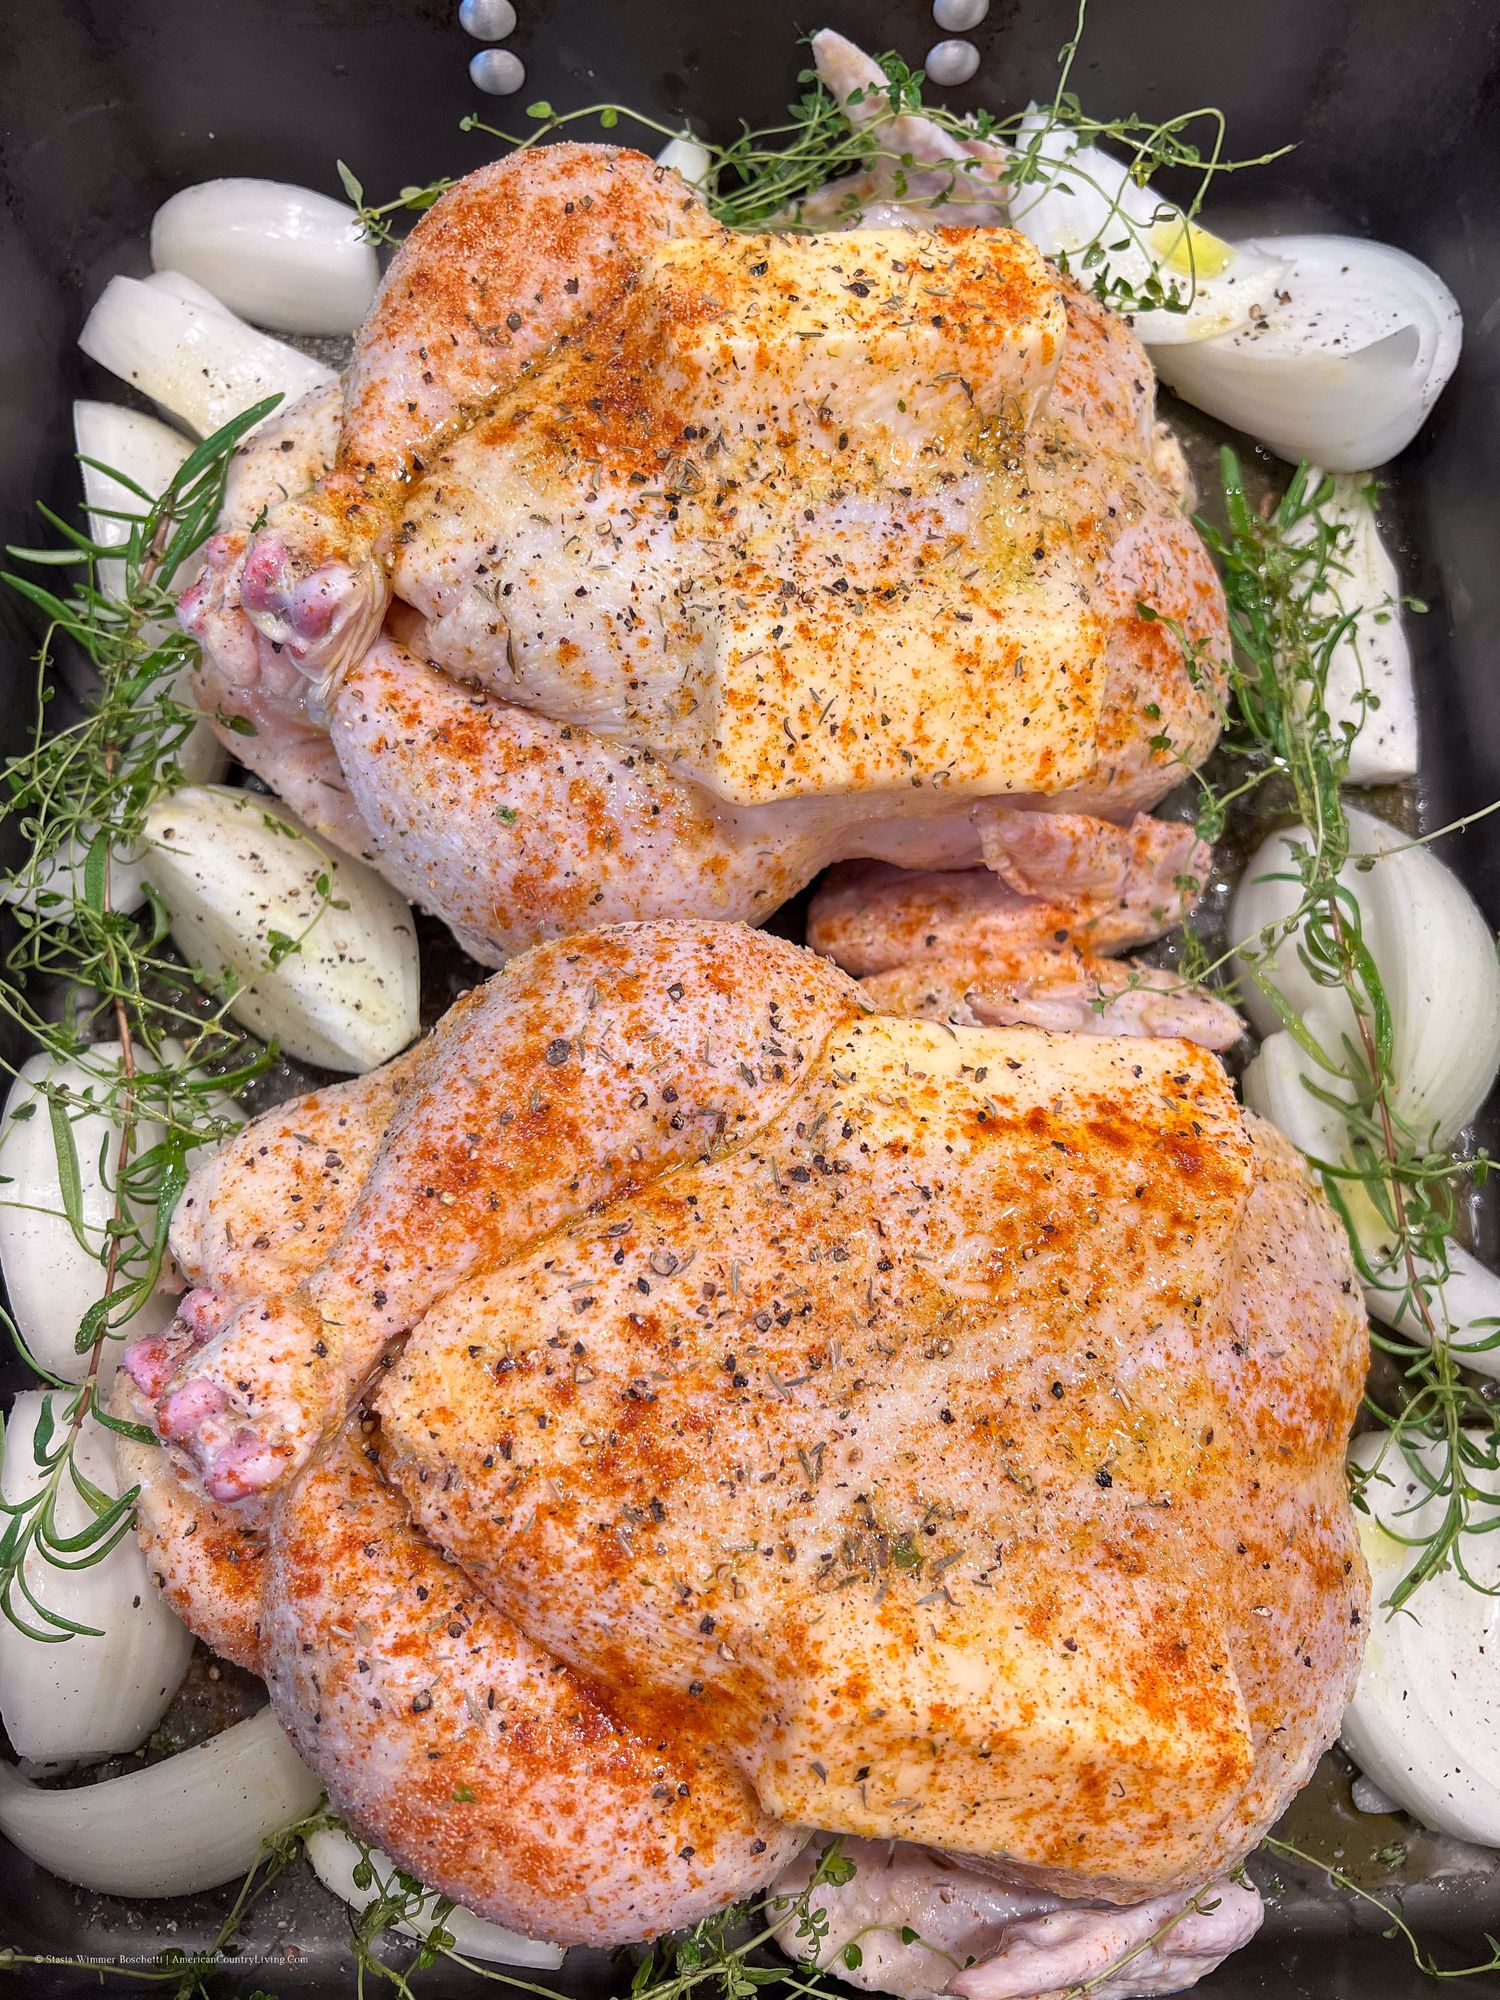
I begin with a five-pound chicken and pat it thoroughly dry before seasoning. Butter goes under the breast skin, a technique I use because it places the fat directly against the meat as the bird roasts. I gently work my fingers between the skin and breast without tearing it, then tuck softened butter underneath. The remaining butter goes over the outside with salt, black pepper, garlic, paprika, and thyme or rosemary.
Inside the cavity, lemon, onion, garlic, and fresh herbs add aroma as the chicken cooks. They keep the seasoning traditional and restrained, which is exactly what I want in a classic roast chicken.
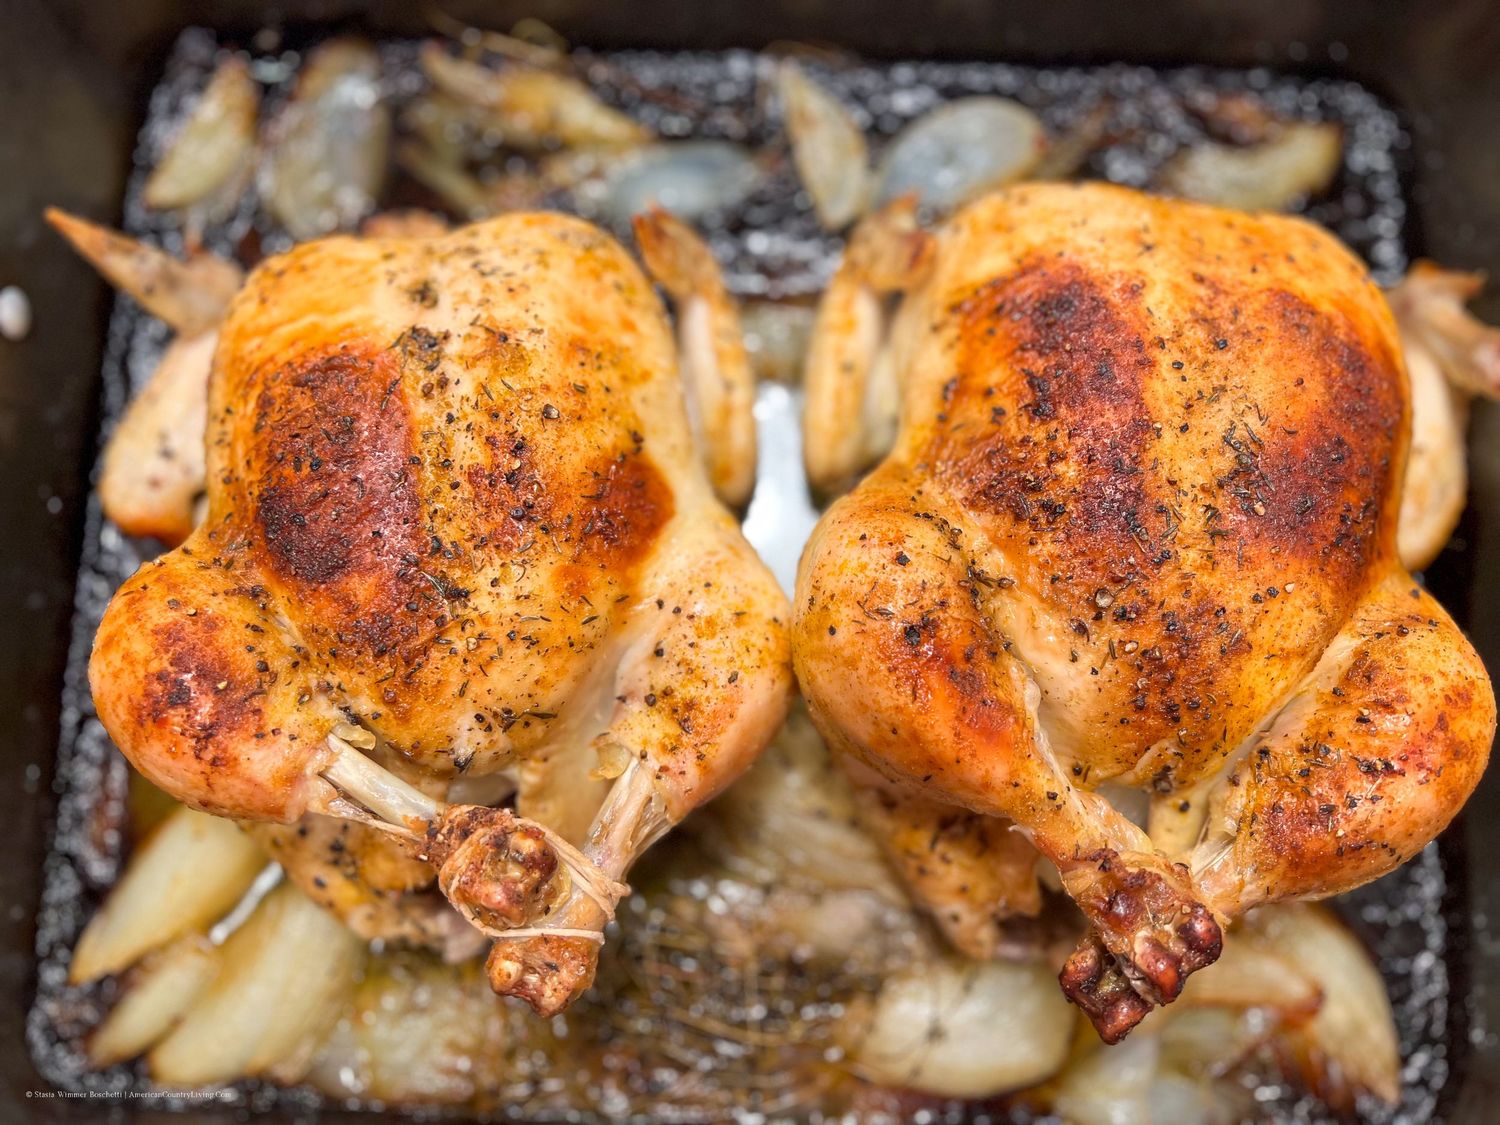
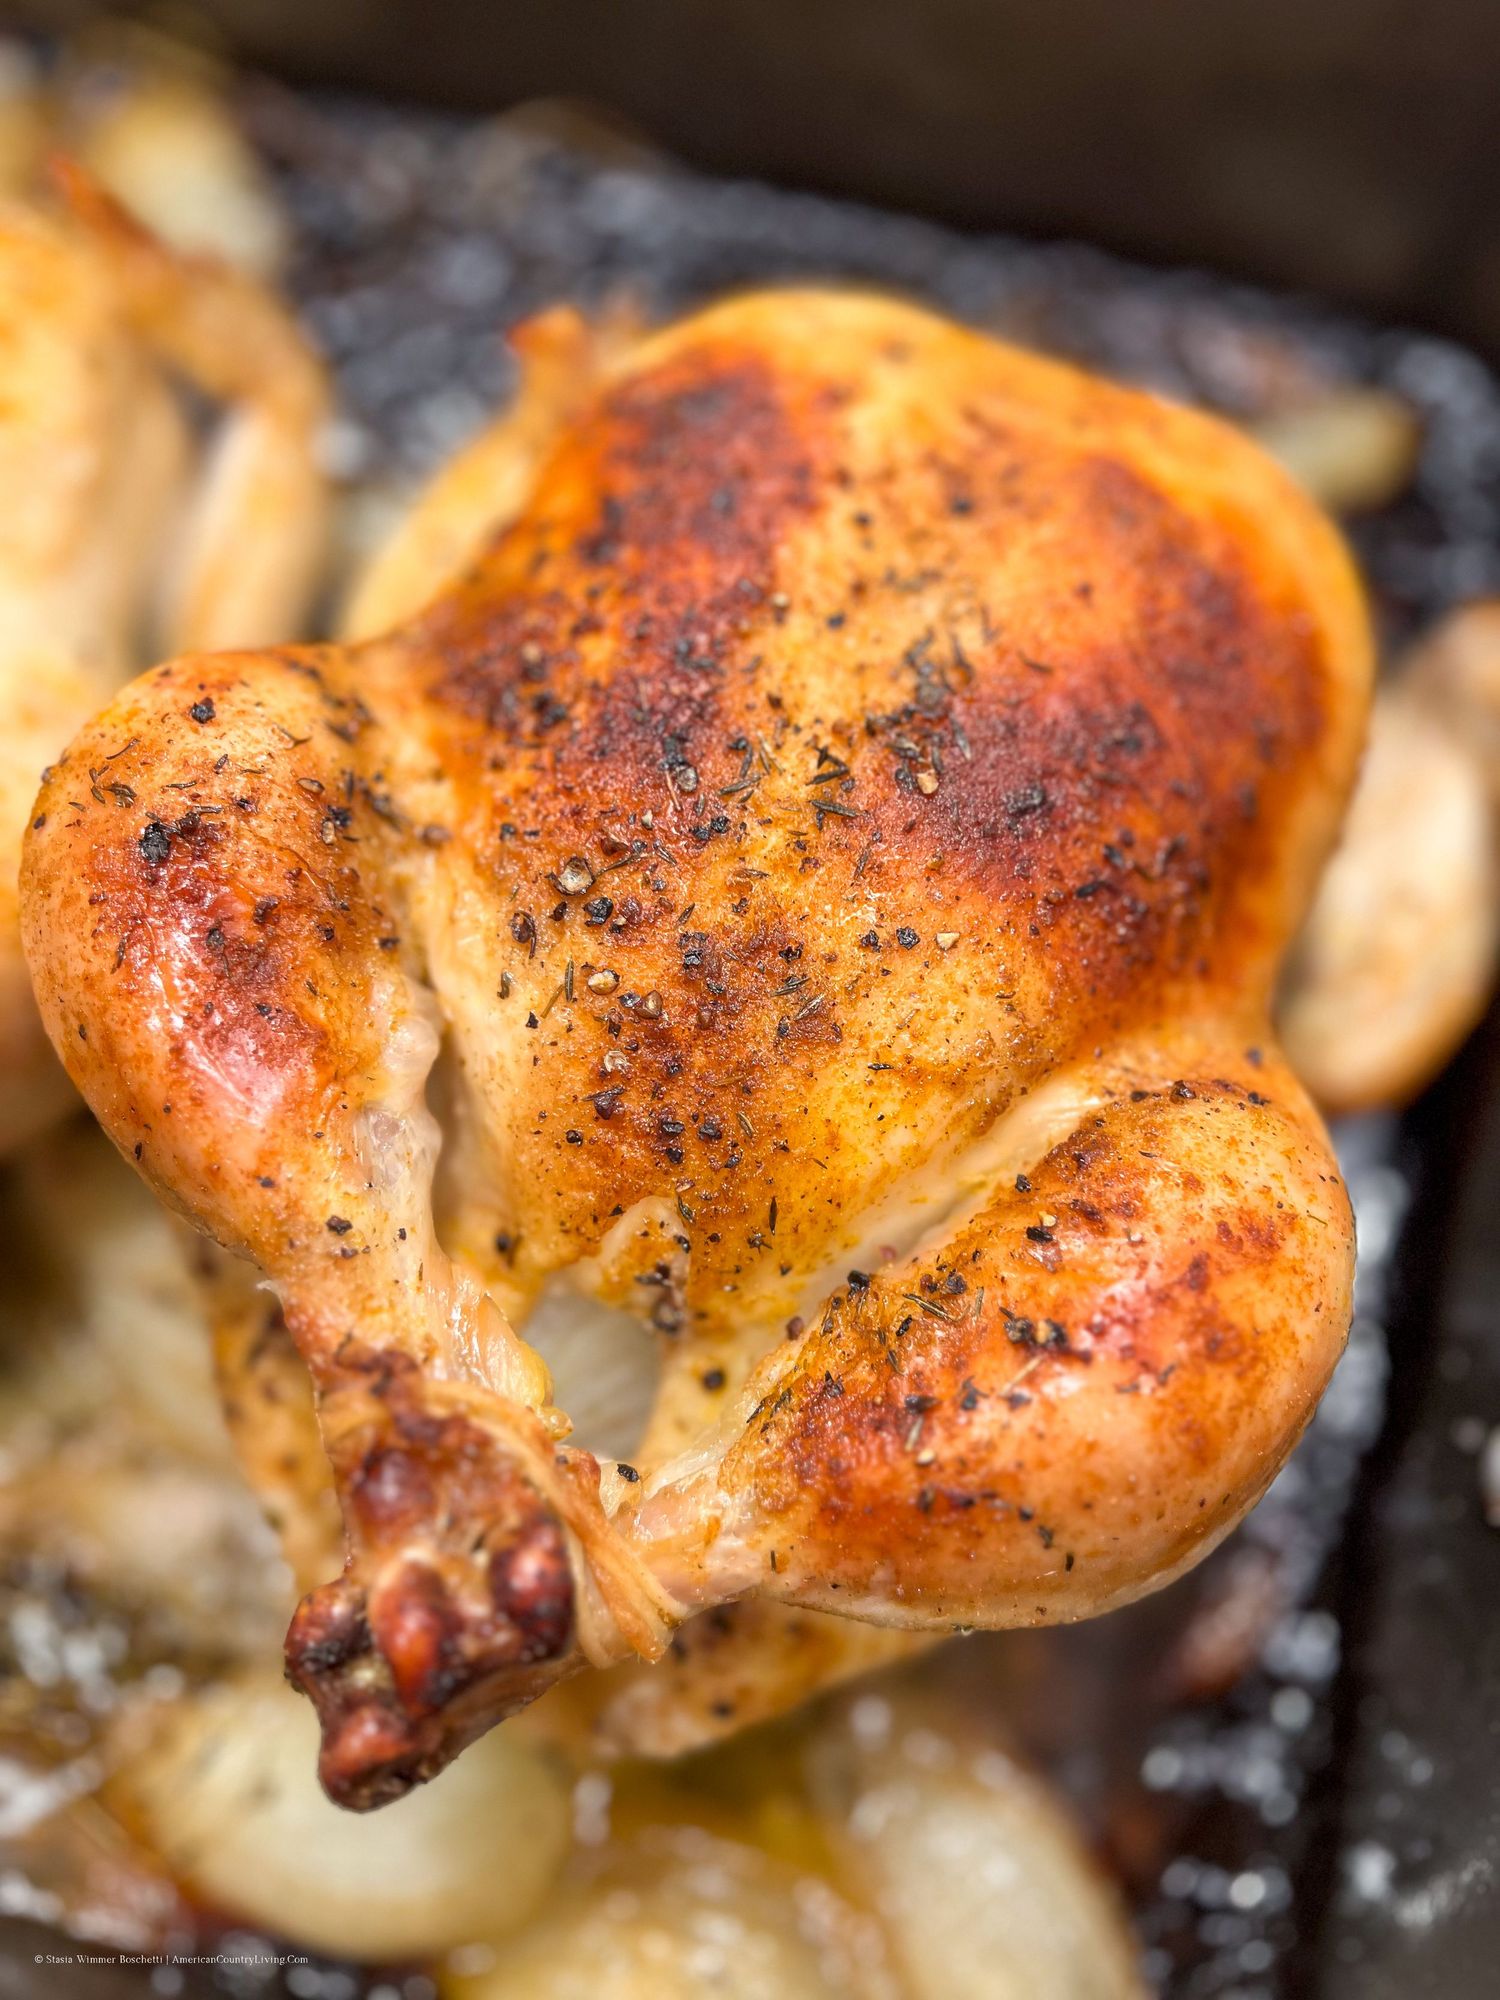
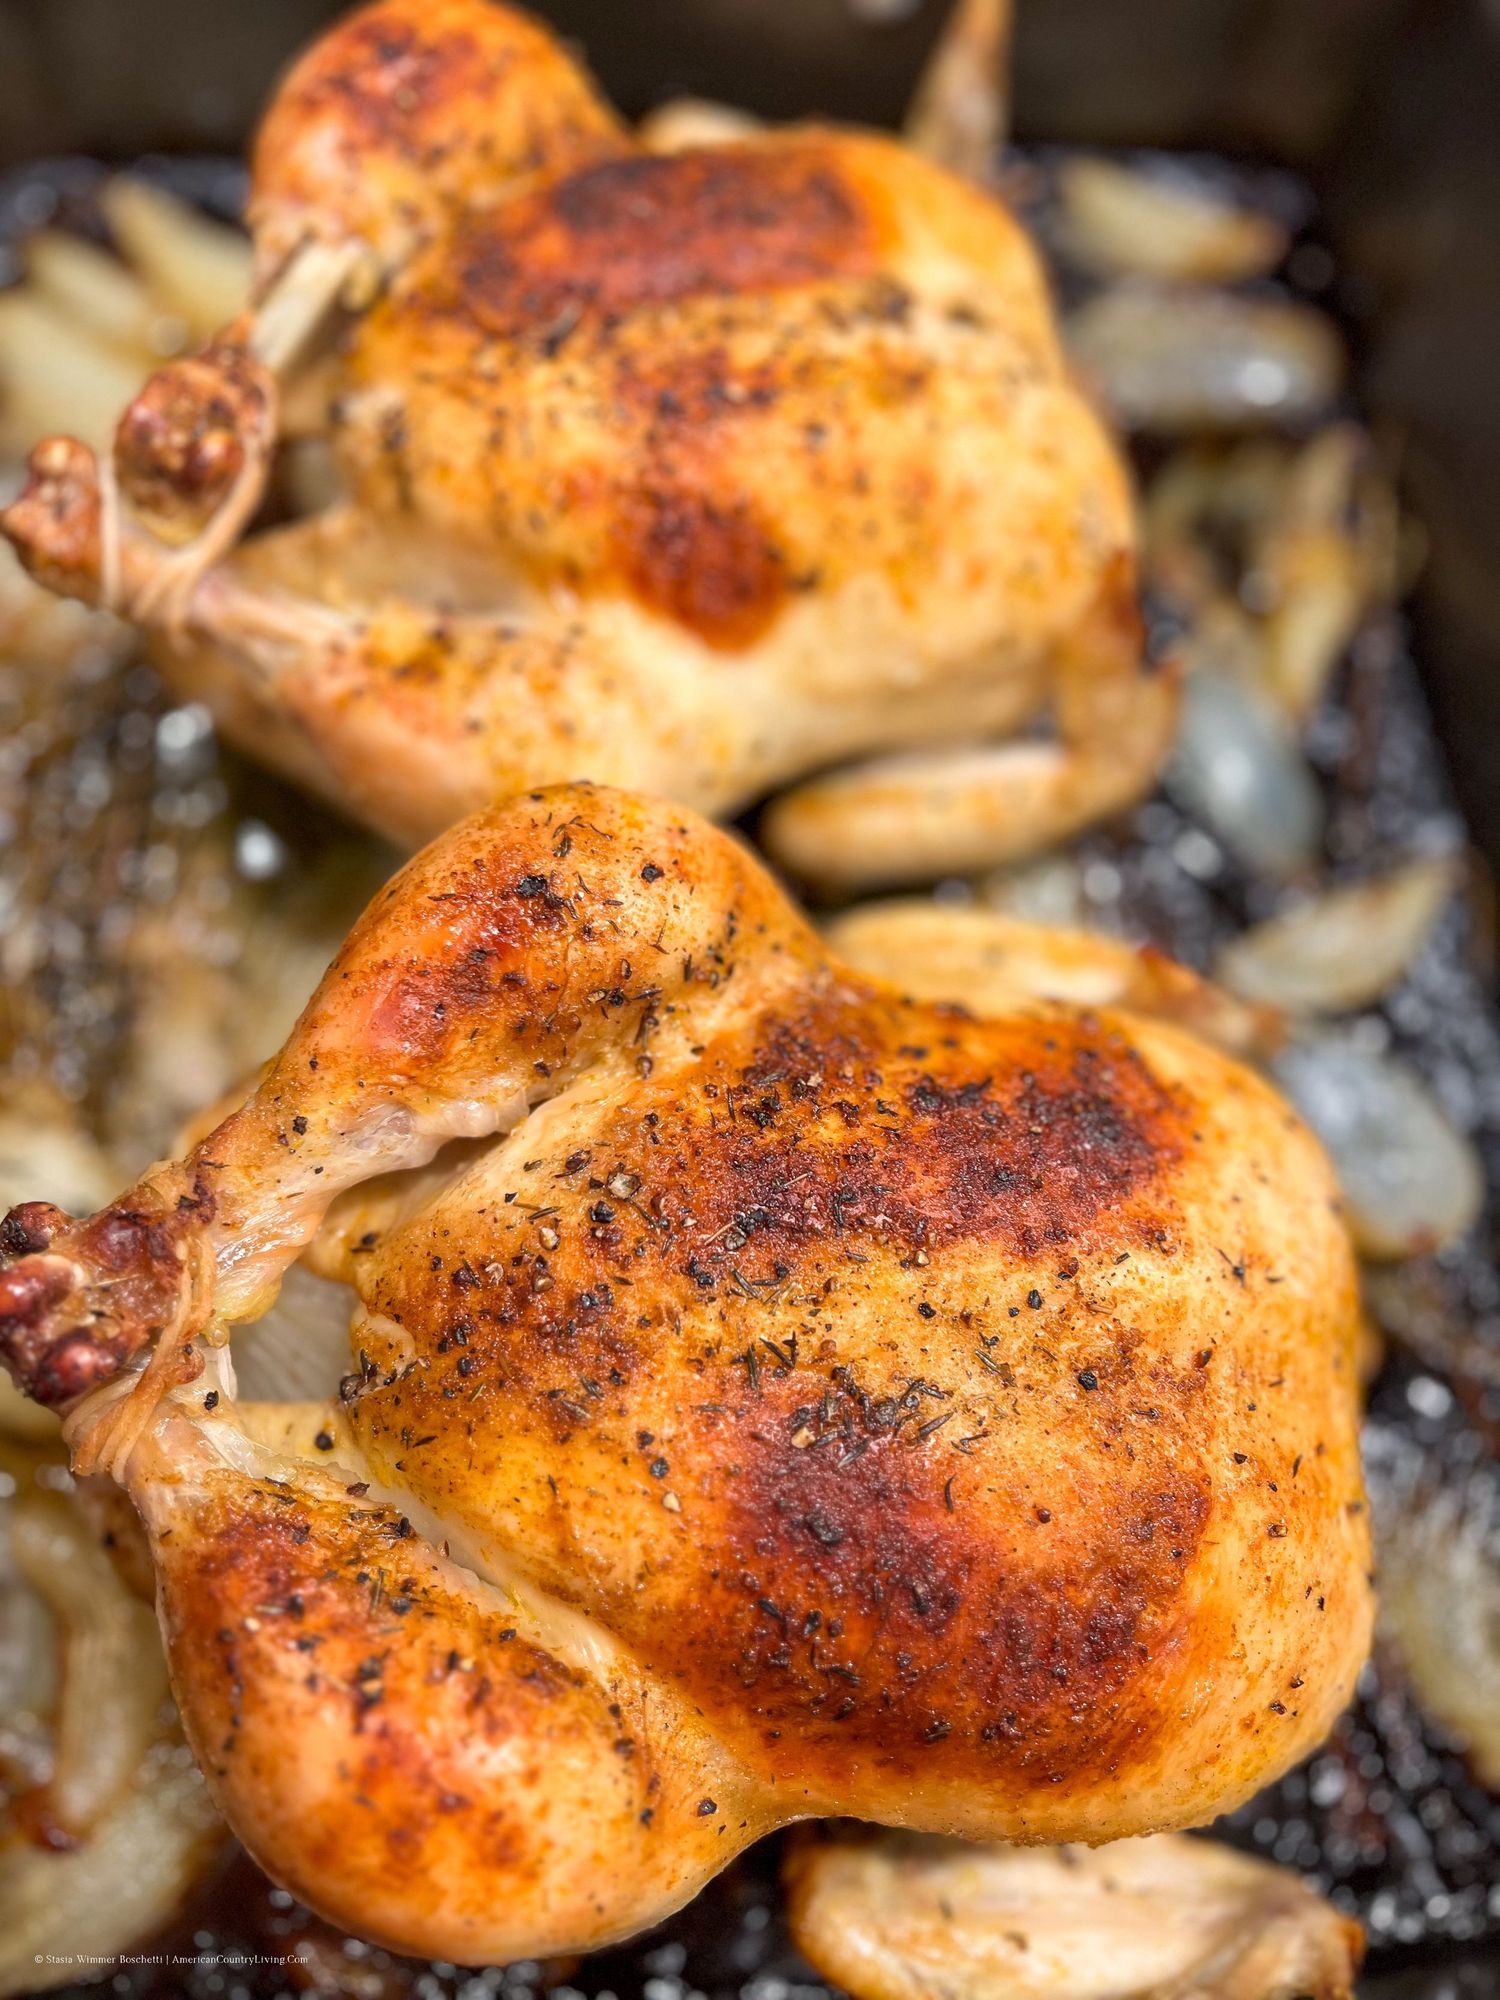
At 425°F, the skin develops a deep golden color while the meat cooks through. A thermometer is the most reliable guide for doneness, especially at the thickest part of the thigh. Once the chicken is out of the oven, resting it before carving gives the juices time to settle back into the meat.
The roasting pan deserves just as much attention as the bird. Butter, rendered chicken fat, seasoning, and concentrated juices collect beneath the chicken, and those drippings are valuable kitchen material. Spoon them over carved meat, stir them into roasted potatoes, or turn them into gravy with flour and broth.
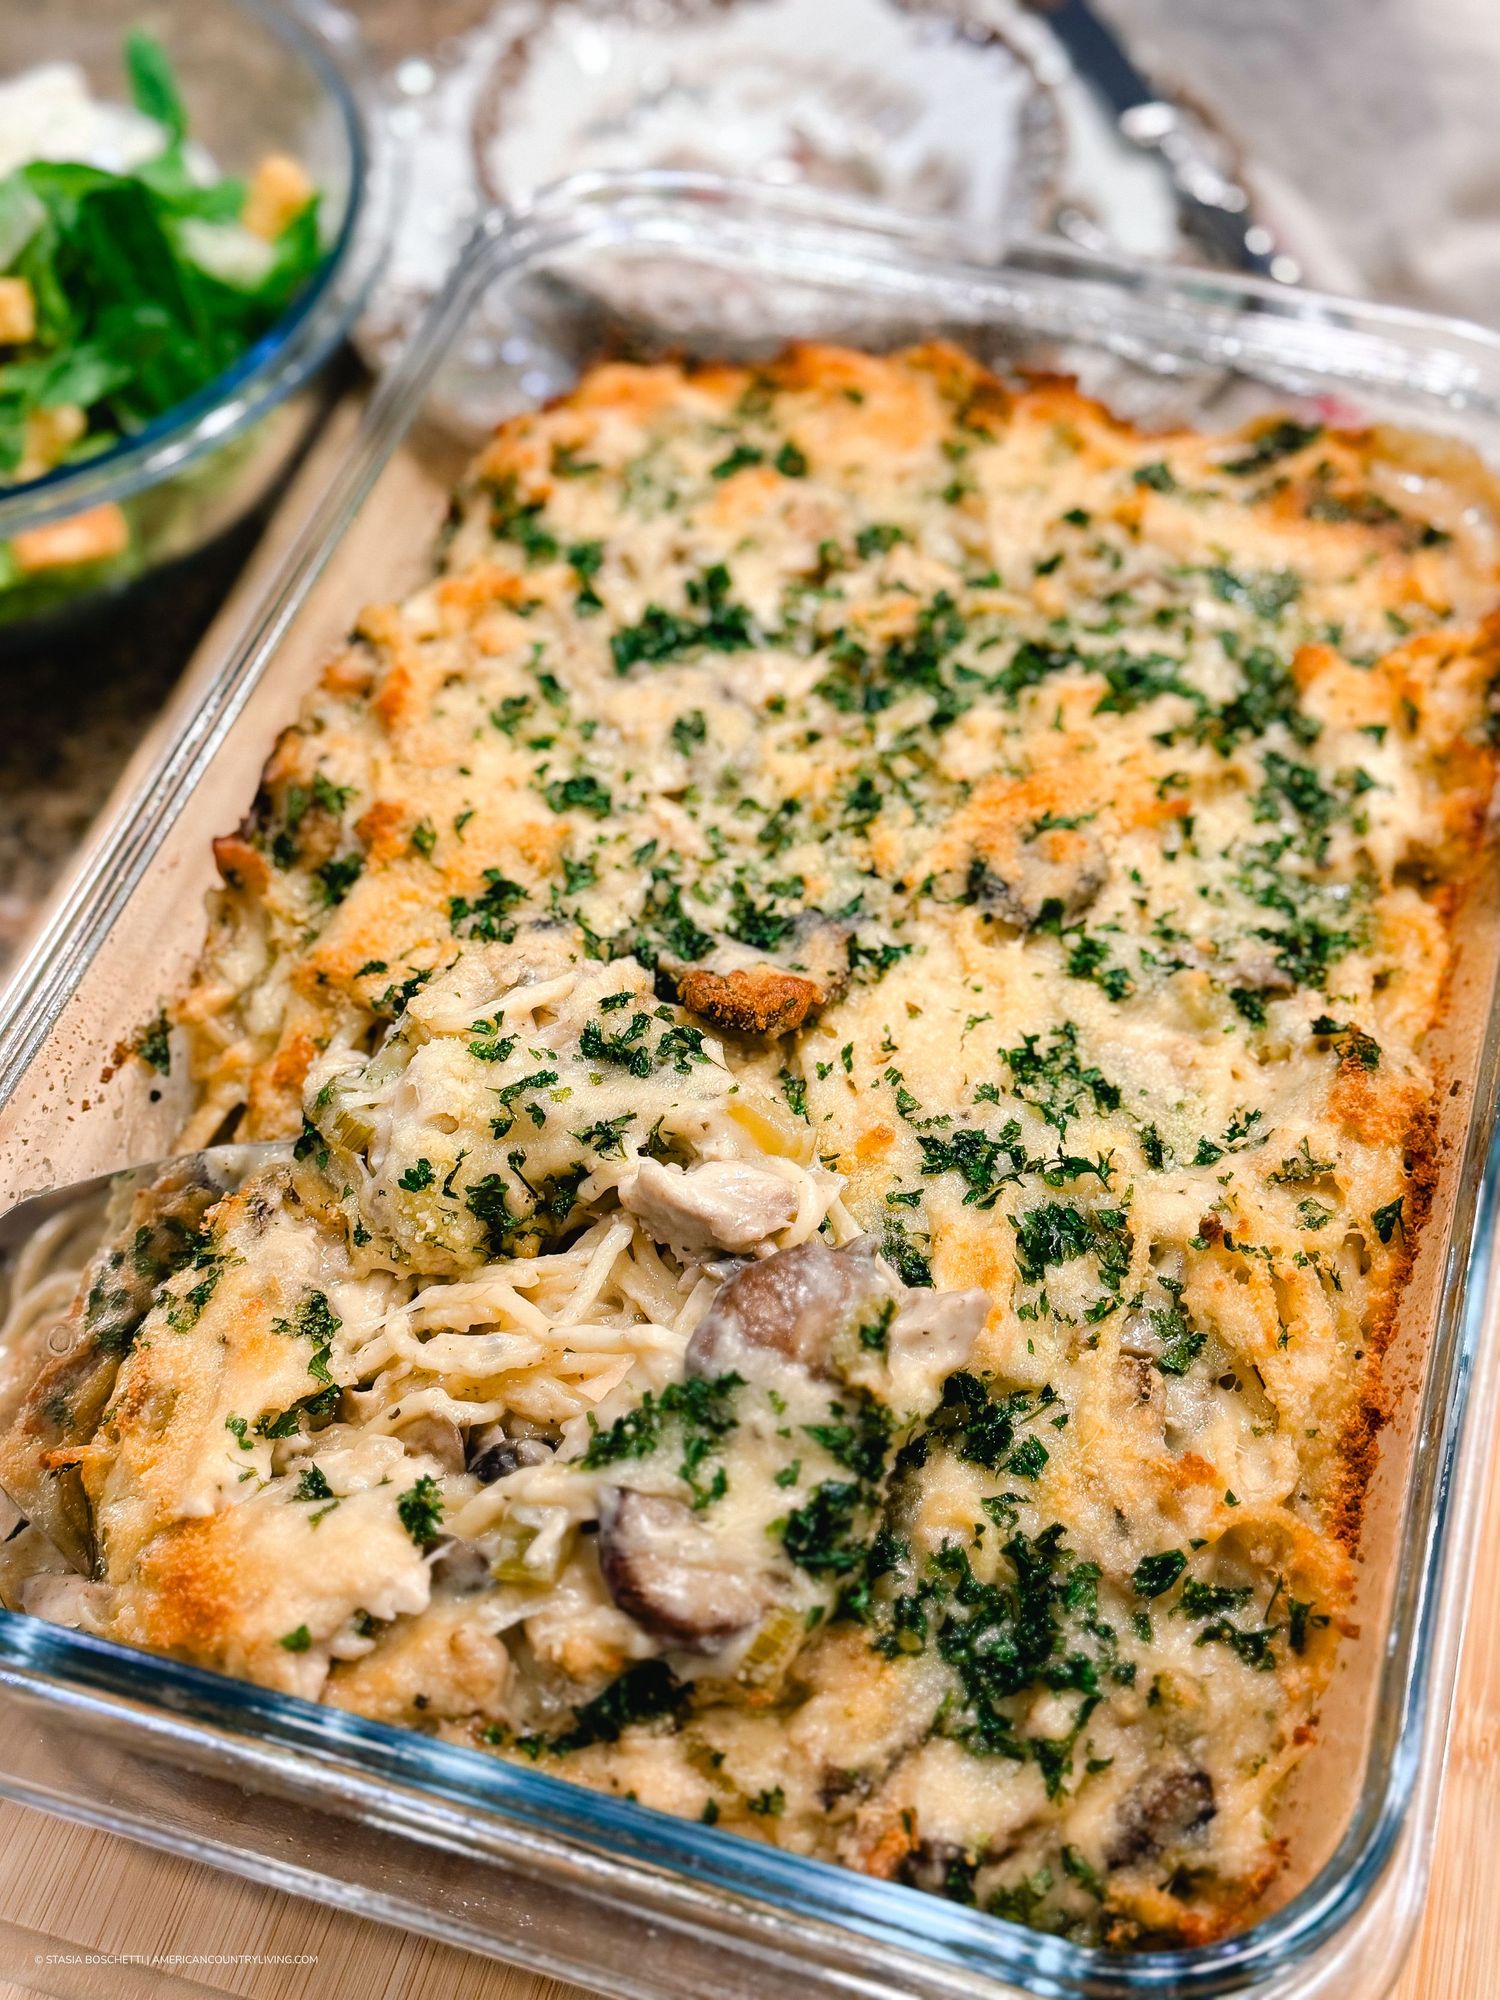
A whole chicken is also practical beyond the first meal. Breast meat can be sliced for sandwiches or salads. Dark meat can go into soup, pot pie, tacos, or a casserole. The carcass and remaining bones can become the beginning of chicken stock. Cooking one bird well can easily carry you into several meals.
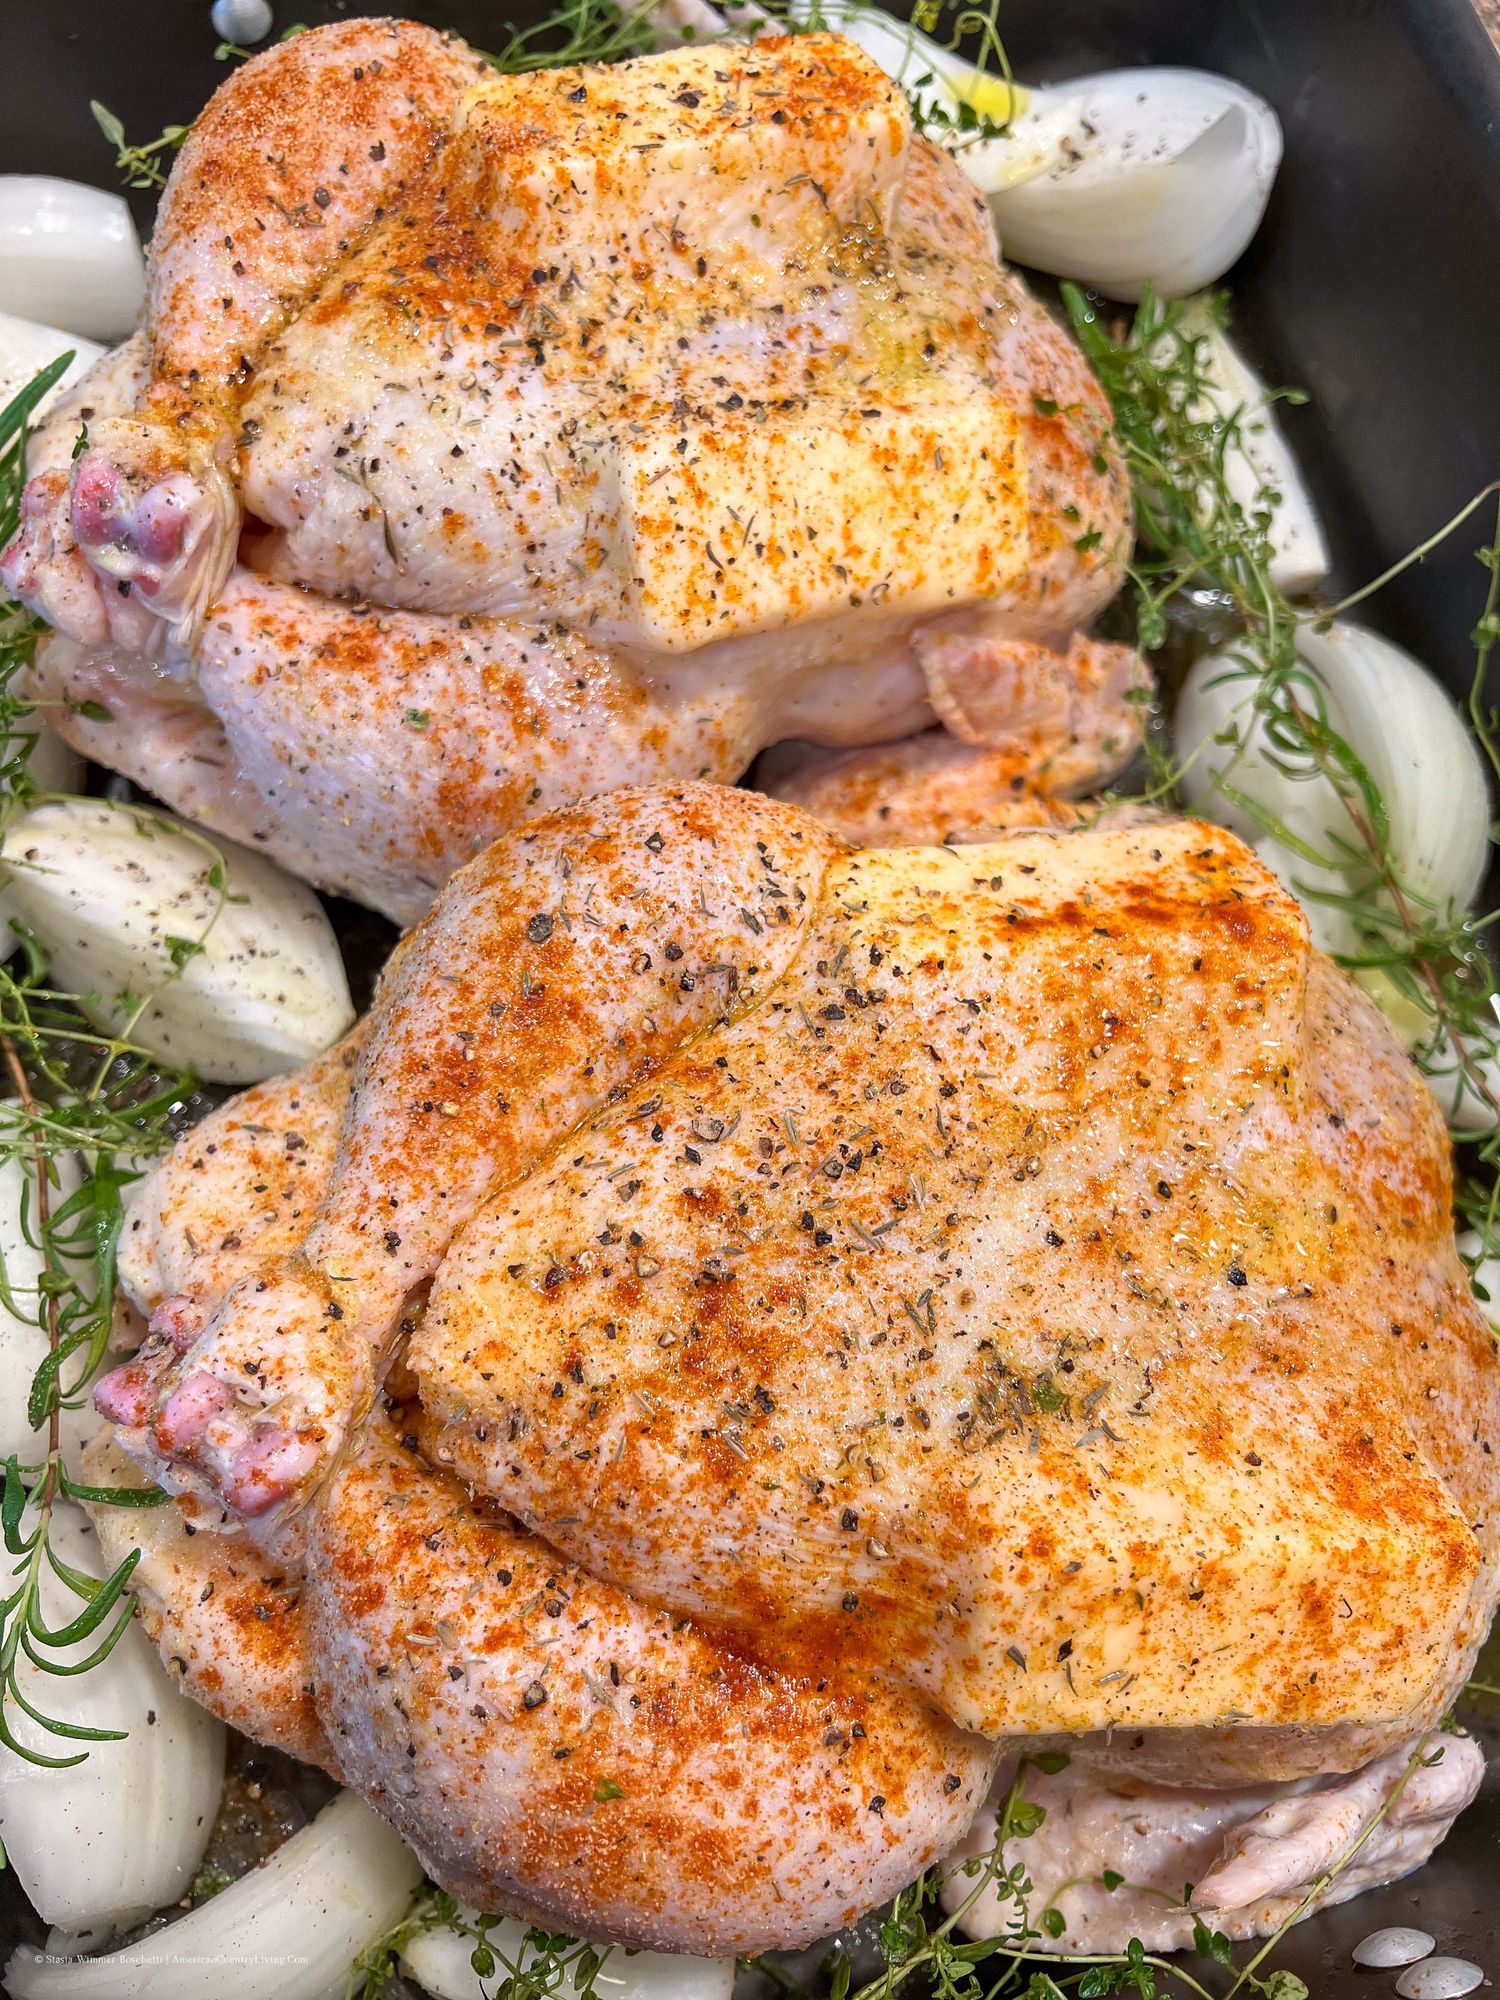
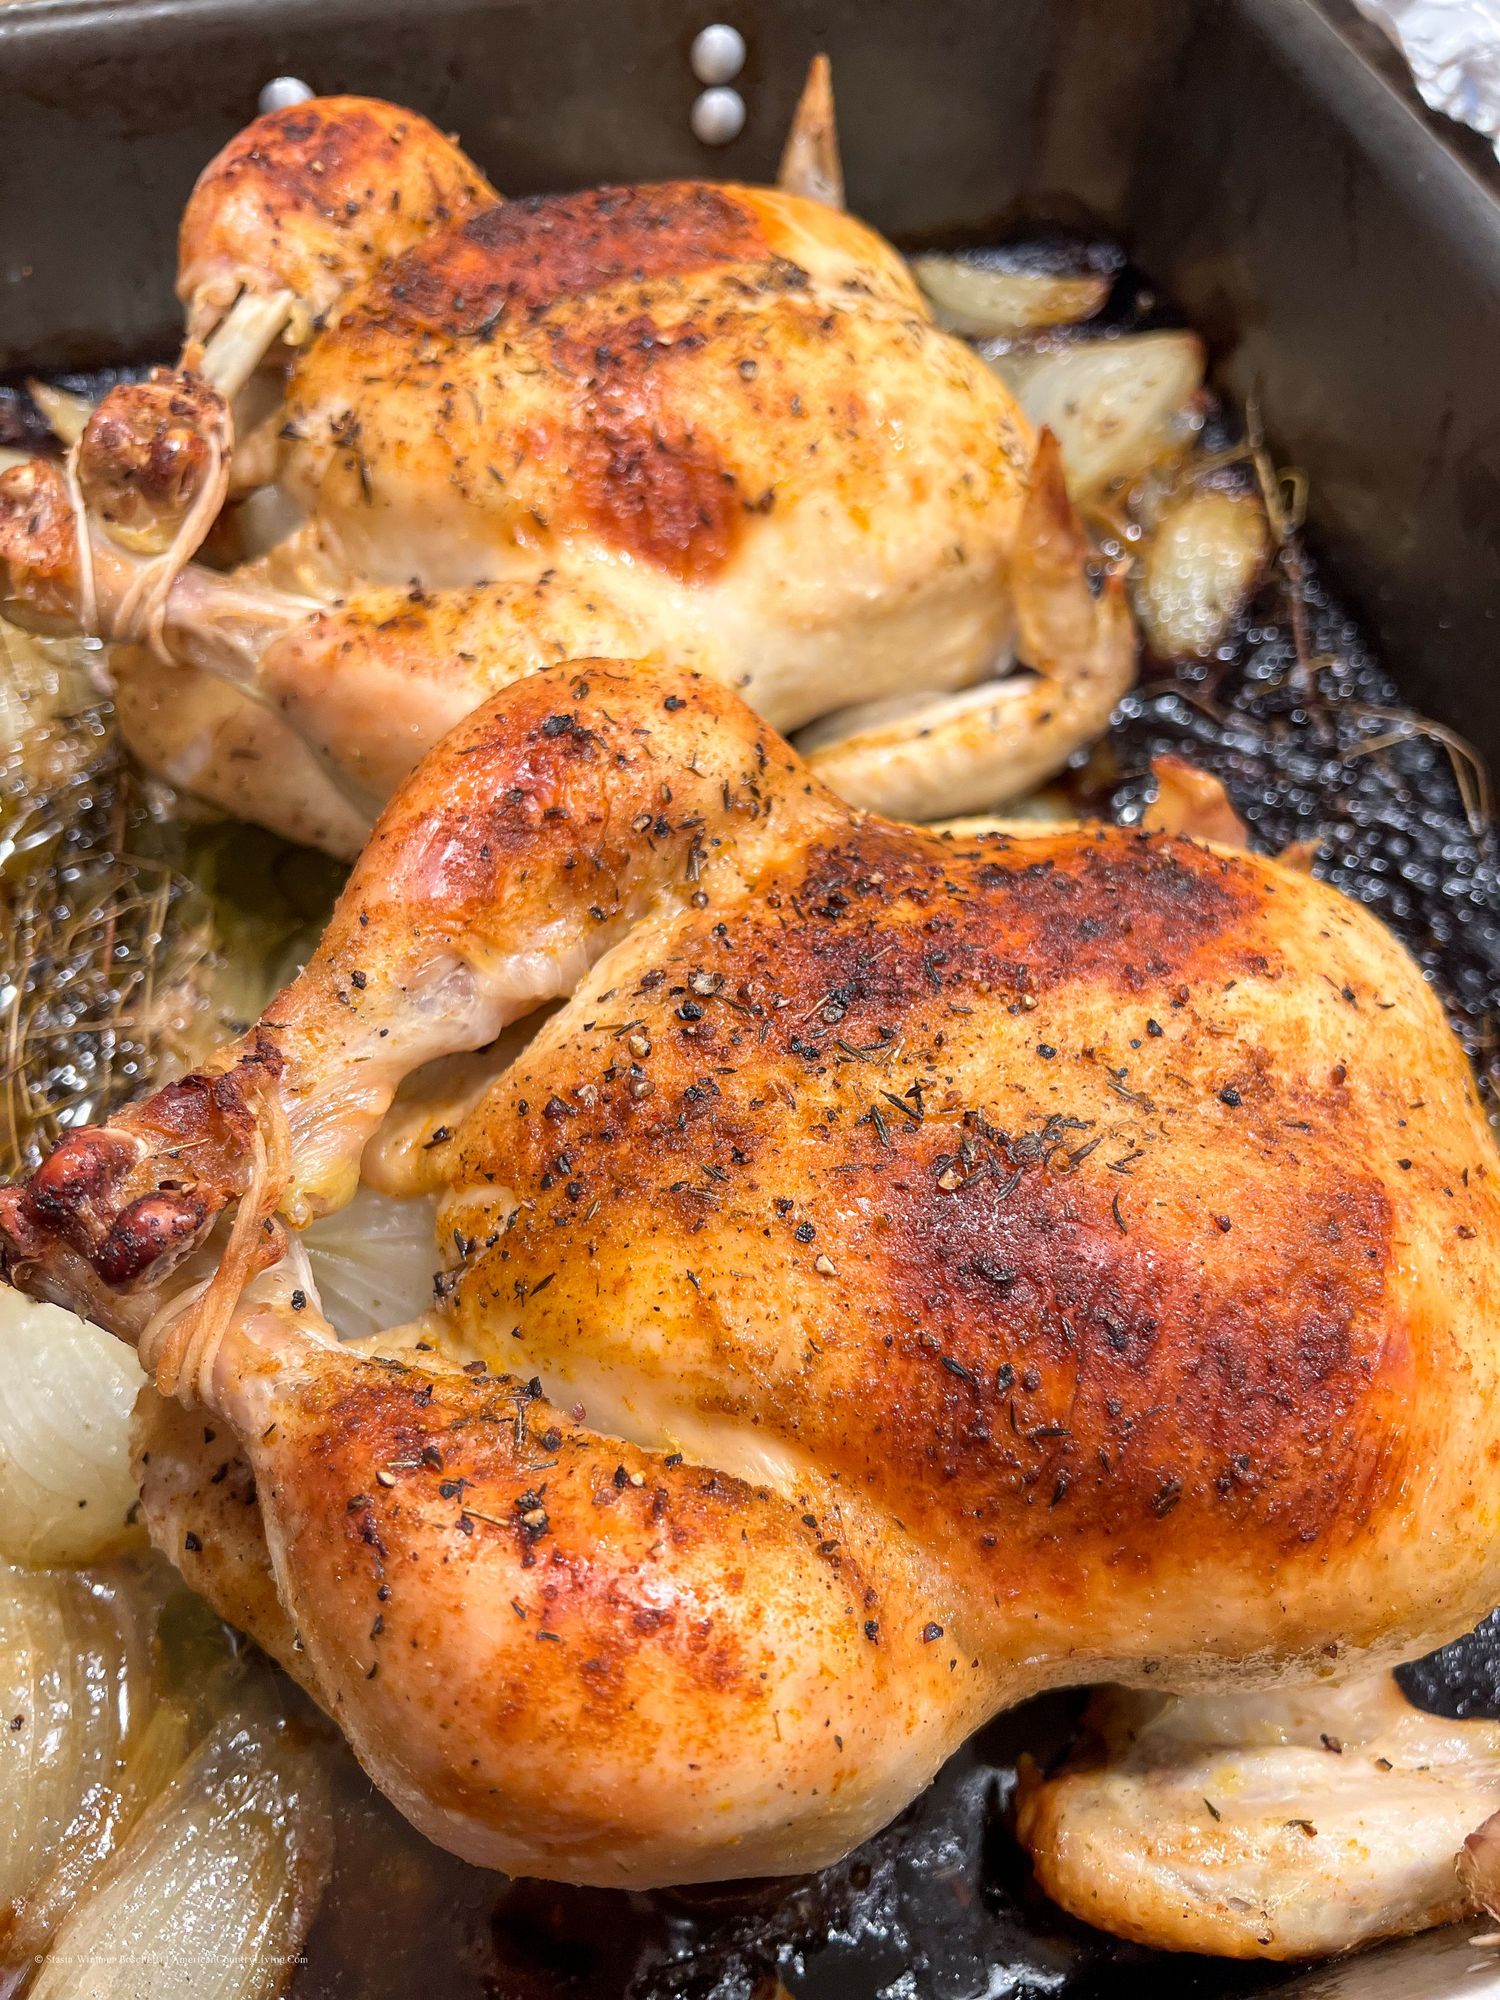
When I roast two chickens, I use the same method and make sure there is enough space around each bird for the heat to circulate. Two chickens work well for company, but they are also useful when you want extra meat for the week. The oven is already hot, the roasting pan is already out, and much of the work is already done.
Knowing how to roast a whole chicken remains one of those basic kitchen skills worth keeping. Learn what properly browned skin looks like. Use a thermometer rather than guessing. Let the chicken rest before carving. Save the drippings. Save the bones.
That is the kind of cooking that stays useful for a lifetime.
Until next time, thank you for spending a little time with me. I hope you find a recipe to make, a story to enjoy, and something new to take into the kitchen. ♥️
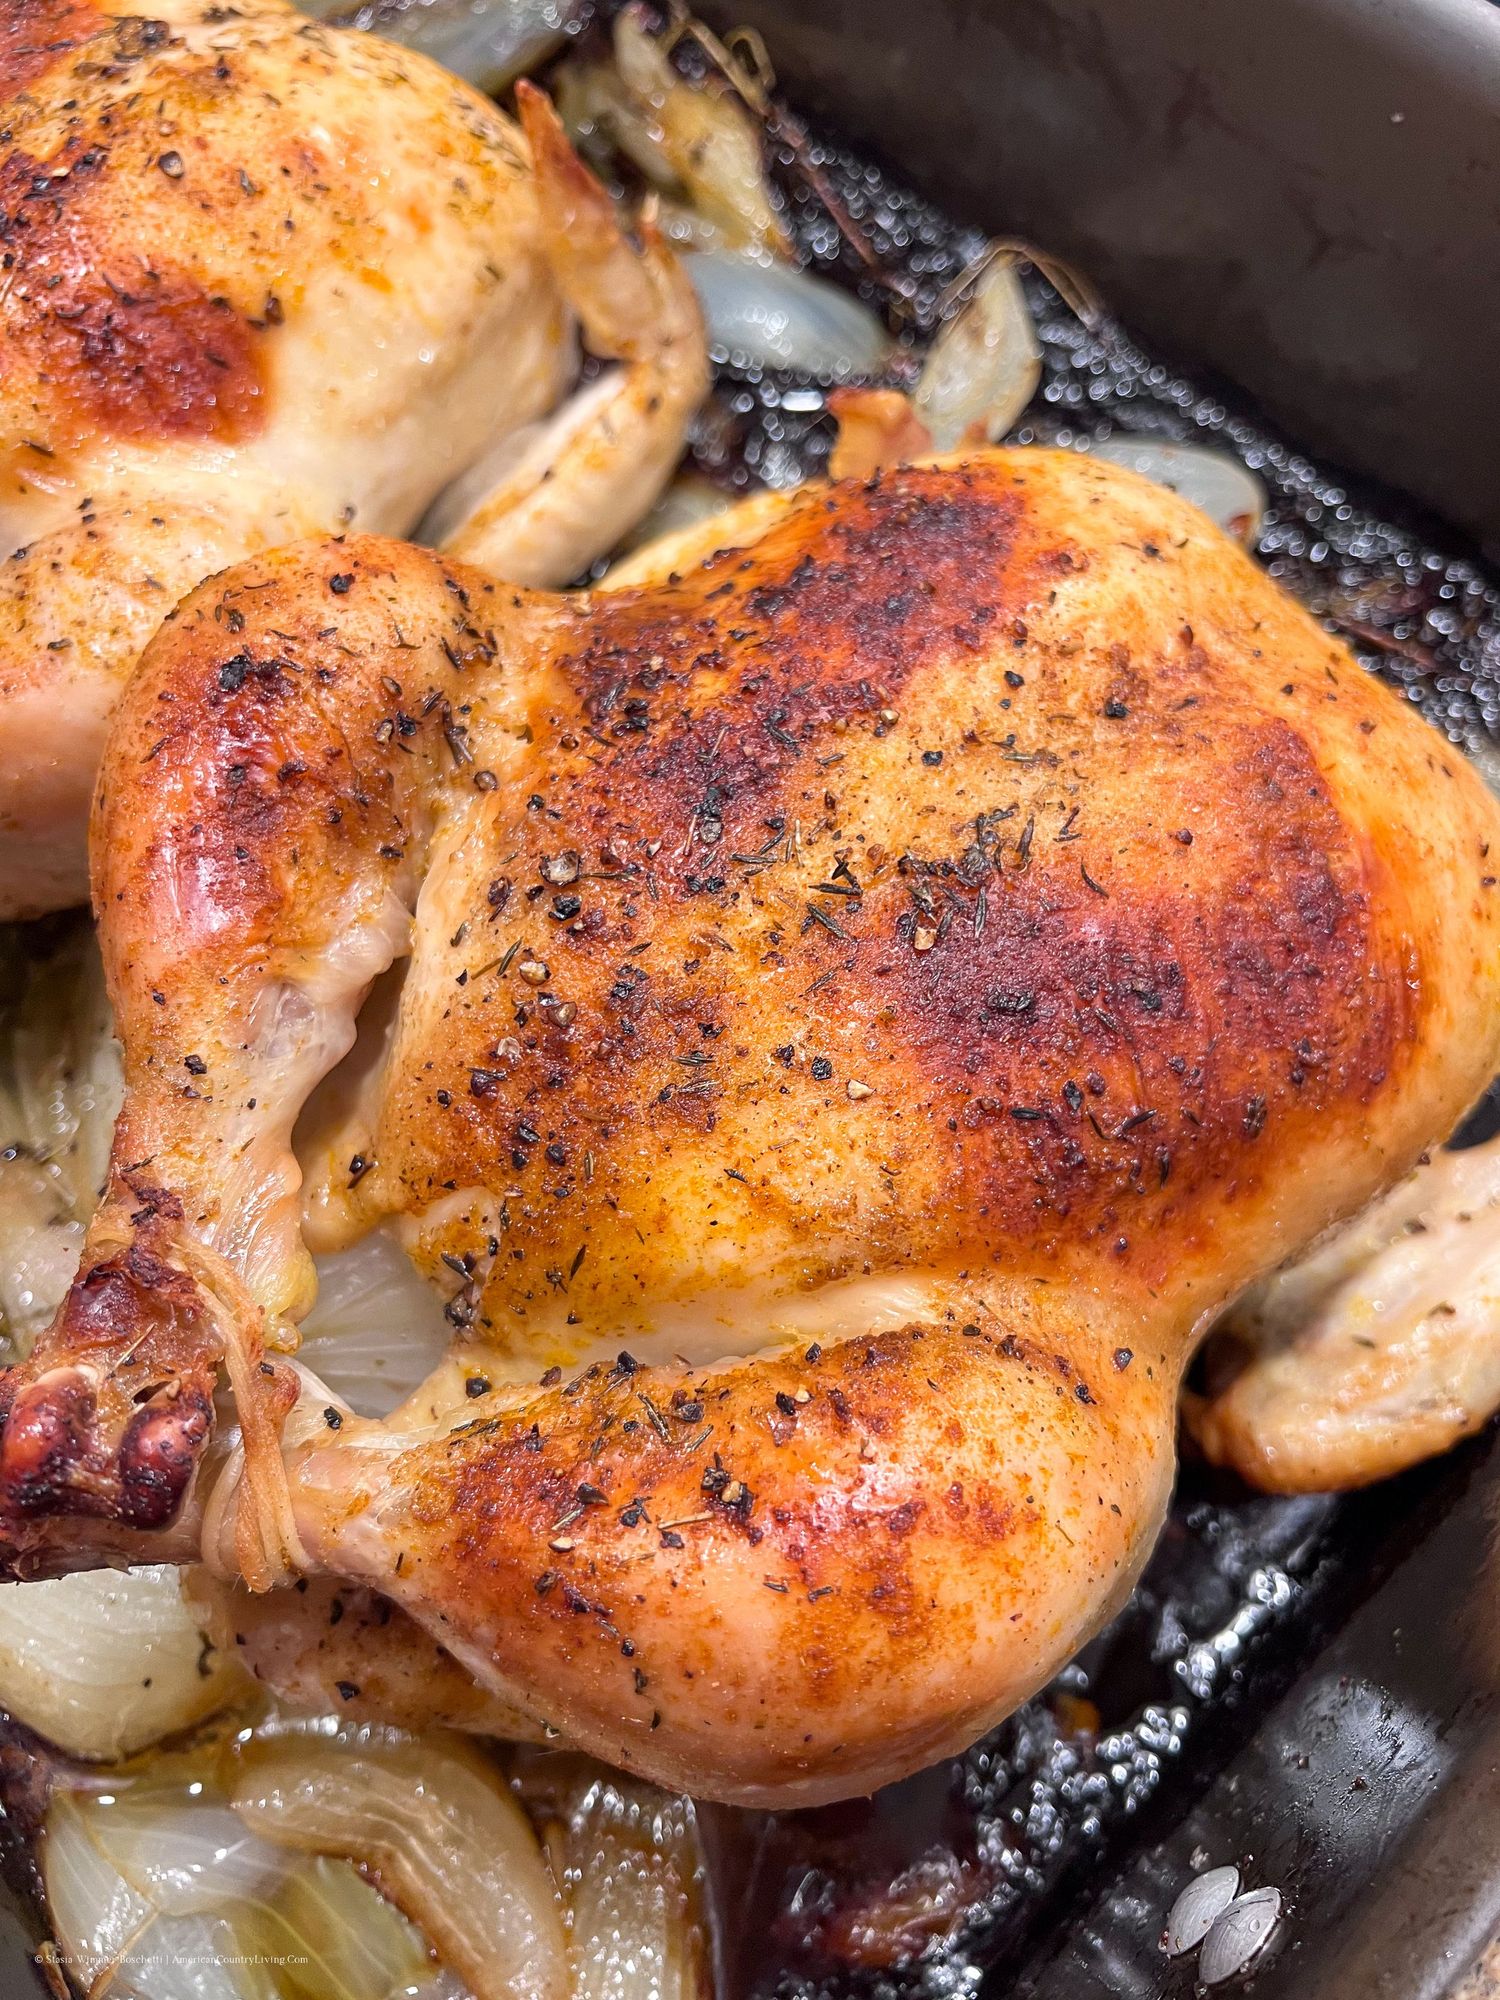
Classic Roasted Whole Chicken
PREP TIME: 25 MINUTES
Cook Time: 1 Hour 20+ minutes
OVEN TEMPERATURE: 425°F
SERVINGS: 4-8 servings
Ingredients
For One 5-lb Chicken
1 whole chicken (5 lbs), giblets removed
4–5 tablespoons butter (softened, divided)
2 teaspoons salt
1 teaspoon black pepper
- 1 teaspoon garlic powder
- 1 teaspoon paprika
- 1 teaspoon dried thyme (or rosemary)
- 1 lemon, halved
- 1 onion, quartered
- 4 garlic cloves, smashed
- Fresh herbs (optional: parsley, thyme, rosemary)
For Two 5-lb Chickens
- Double all ingredients above
Tip: Slip pats of butter under the skin of each breast before roasting. It’s messy business, but it turns ordinary roast chicken into something downright luxurious.
How to Roast One Chicken
1. Preheat the Oven
- Set oven to 425°F (220°C). High heat ensures golden, crispy skin.
2. Prepare and Season
- Pat chicken dry
- Gently loosen skin over the breasts and tuck in small pats of butter (or as much as you like)
- Rub outside with remaining butter or olive oil
- Sprinkle with seasonings
3. Stuff the Cavity
- Insert lemon halves, onion quarters, garlic cloves, and fresh herbs
4. Tuck and Tie
- Tuck wing tips under the body
- Tie legs with kitchen twine for even cooking
5. Roast
- Place breast-side up on a rack in a roasting pan
- Roast for 1 hour 20-30 minutes, or until the thickest part of the thigh reaches 165°F
6. Rest Before Carving
- Tent with foil and rest 15 minutes to allow juices to redistribute
Tip: Save the pan drippings for a quick, flavorful gravy.
How to Roast Two Chickens at the Same Time
1. Preheat the Oven
- Keep the oven at 425°F (220°C)
2. Prep Both Chickens
- Pat dry, tuck butter under breast skin, rub with oil or butter, season evenly.
3. Stuff Cavities
- Lemon halves, onion quarters, garlic cloves, and fresh herbs for each bird
4. Tuck and Tie
- Tuck wings under and tie legs of both chickens
5. Arrange in Oven
- Place on separate racks or in a large roasting pan
- Ensure chickens do not touch to allow proper airflow
6. Roast and Rotate
- Roast for 1 hour 25-40 minutes
- Swap racks halfway to ensure even browning
- Check each chicken’s thigh reaches 165°F
7. Rest
- Remove chickens, tent with foil, and rest 15 minutes before carving
Tip: If one chicken finishes first, remove and tent it while the other finishes roasting.

about the AUTHOr
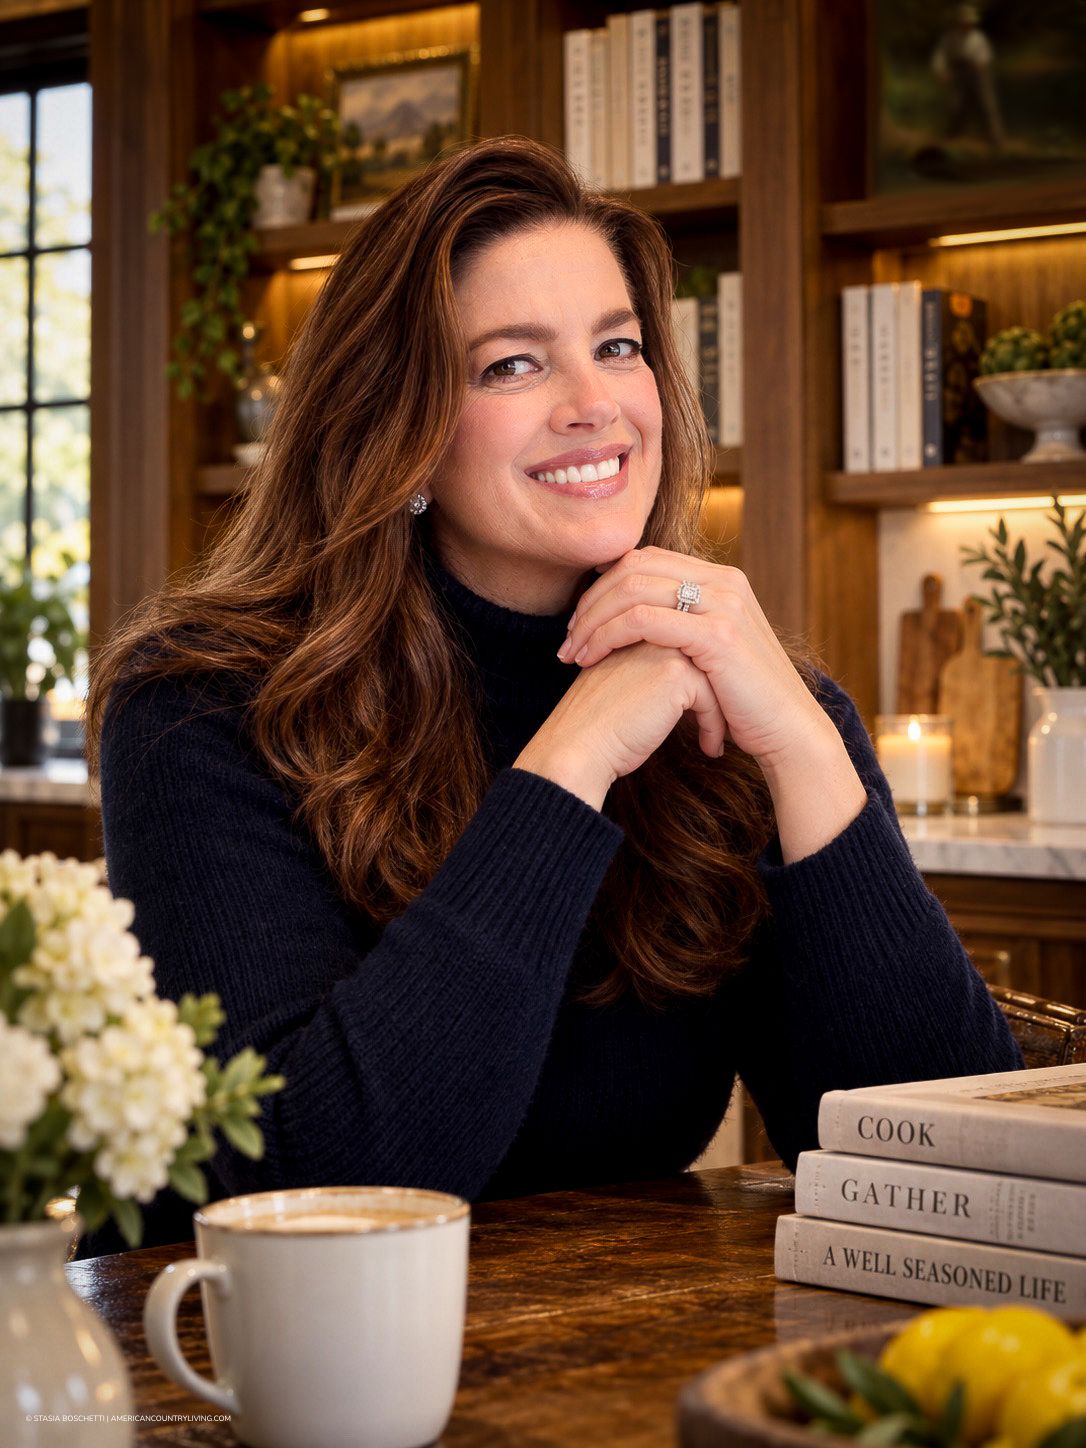
Stasia Boschetti is an American culinary writer and the founder of American Country Living. With more than thirty years of experience in the kitchen, a background in catering, extensive travel, and a strong knowledge of regional food traditions, she writes about the recipes, histories, and customs that have shaped the way America cooks. She lives in the United States with her husband, family, and rescue animals.